
离岸价格
Get Latest Price1 ~ 1.5 USD / Piece ( Negotiable )
|100 Piece Minimum Order
国:
China
モデル番号:
HF1479
离岸价格:
1 ~ 1.5 USD / Piece ( Negotiable ) Get Latest Price
ロケーション:
-
最低注文量の価格:
1 per Piece
最低注文量:
100 Piece
パッケージの詳細:
AS CUSTOMER' REQUEST
納期:
30DAYS
供給能力:
50000 Piece per Month
支払いタイプ:
T/T
製品グループ :
Decsription:
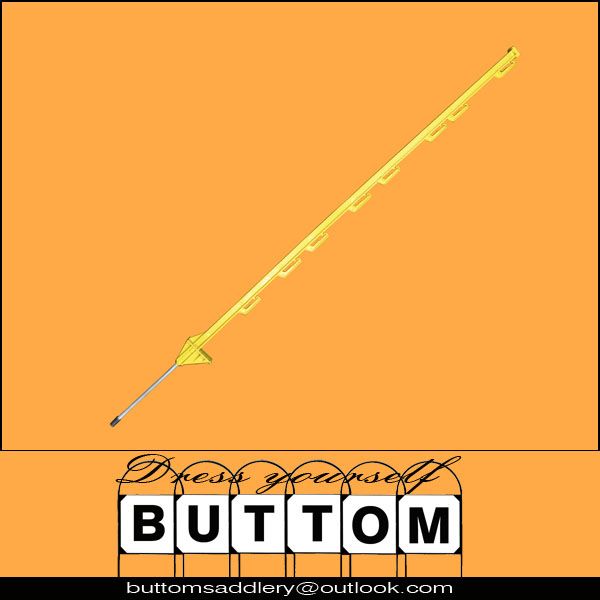
Fence post electric fence post plastic
1.PP material with UV resistance treatment,for long time use.
2.Step-in,easy for installing and removing
3.8holders,fit up to 40mm polytapes and up to 16mm polywires
4.Top quality
Electric fence insulators are a key part of your electric fence system--they allow you to
attach the fence to your posts without grounding the wires out. Choose electric fence
insulators based on the type of post and wire you're using for the fence. If you use steel
T-posts with 12-1/2 gauge smooth wire, simple snap-on plastic insulators should suffice.
However, wood posts will require you to use a hammer to attach nail-on plastic
insulators. Polytape wire calls for insulators that have an opening wide enough to
accommodate the width of your tape. Regardless of what type of wire you choose for
your electric fence, terminal insulators (insulators at a corner) require special wiring
during installation so they can move with your fence in either direction.
1.
Install line post insulators. Use spray paint to mark the locations on your wood and
steel line posts where you want to locate the insulators and wire. Wire heights vary
depending upon the type of animal you plan to contain, but a permanent, interspecies
(sheep and cattle) electric fence requires seven or eight wires at distances of 5 to 10
inches.
2.
Install line post insulators on your steel T-posts. Clasp the snap on the back of the
insulator around the circumference of the pole at the correct height. Firmly push the clasp against the pole until it clicks into place. Repeat this process for all the insulators
on each steel T-post.
3.
Install line post insulators on your wooden posts. Position the plastic insulator at the
correct height on the post,insert a nail into the nail hole on the top of the insulator and
hammer it completely into the post.Insert another nail into the nail hole on the bottom of the insulator and hammer it in. Repeat this process for each insulator on each wooden post.The better way for these is to use the screw-in insulators,it is much better for installing,no need to drill holes.
4.
Install terminal insulators on your corner posts and gate posts. Cut a section of wire
that is long enough to wrap 3-1/2 times around your first corner post. Thread the wire
through the hole in the center of the terminal insulator then wrap it around the corner
post at the desired height, leaving approximately six inches of space between the terminal insulator and the post; when you install the electric fence, this allows the terminal insulator to move slightly with the wire fence in either direction, which reduces the pressure on the corner posts). Rethread the wire and wrap it around the corner posttwo more times, then wrap the two ends back over the wire to secure it. Repeat this process for each terminal insulator on each corner post.
5.
Check your insulators to ensure they are all installed at the correct heights before installing the rest of your electric fence.

| 国: | China |
| モデル番号: | HF1479 |
| 离岸价格: | 1 ~ 1.5 / Piece ( Negotiable ) Get Latest Price |
| ロケーション: | - |
| 最低注文量の価格: | 1 per Piece |
| 最低注文量: | 100 Piece |
| パッケージの詳細: | AS CUSTOMER' REQUEST |
| 納期: | 30DAYS |
| 供給能力: | 50000 Piece per Month |
| 支払いタイプ: | T/T |
| 製品グループ : | Electric fence |
